Bike Light Mount

Bike Light Mount
I’ve had trouble finding a strong enough bike light mount to survive Boston roads, so one day I decided to make my own. This took about 2-3 hours of CAD work and then another hour or so to assemble and test.
Requirements & Design
I need stability, strength, vibration resistance for Boston roads, and rotational adjustability on at least 2 axes. I also wanted to add a hidden Airtag so I could track my bike if it was stolen.
To fill these design needs I decided to use a spring loaded ball and socket joint that contacts on the outer rim of the socket to greatly increase moment resistance (if this contacted throughout or just in the center of the socket, the yaw moment resistance would be very small.) The ball and socket are designed line to line with a shim of high friction tape placed around the socket rim to provide the ideal contact area and also to increase the friction and vibration resistance.
Components
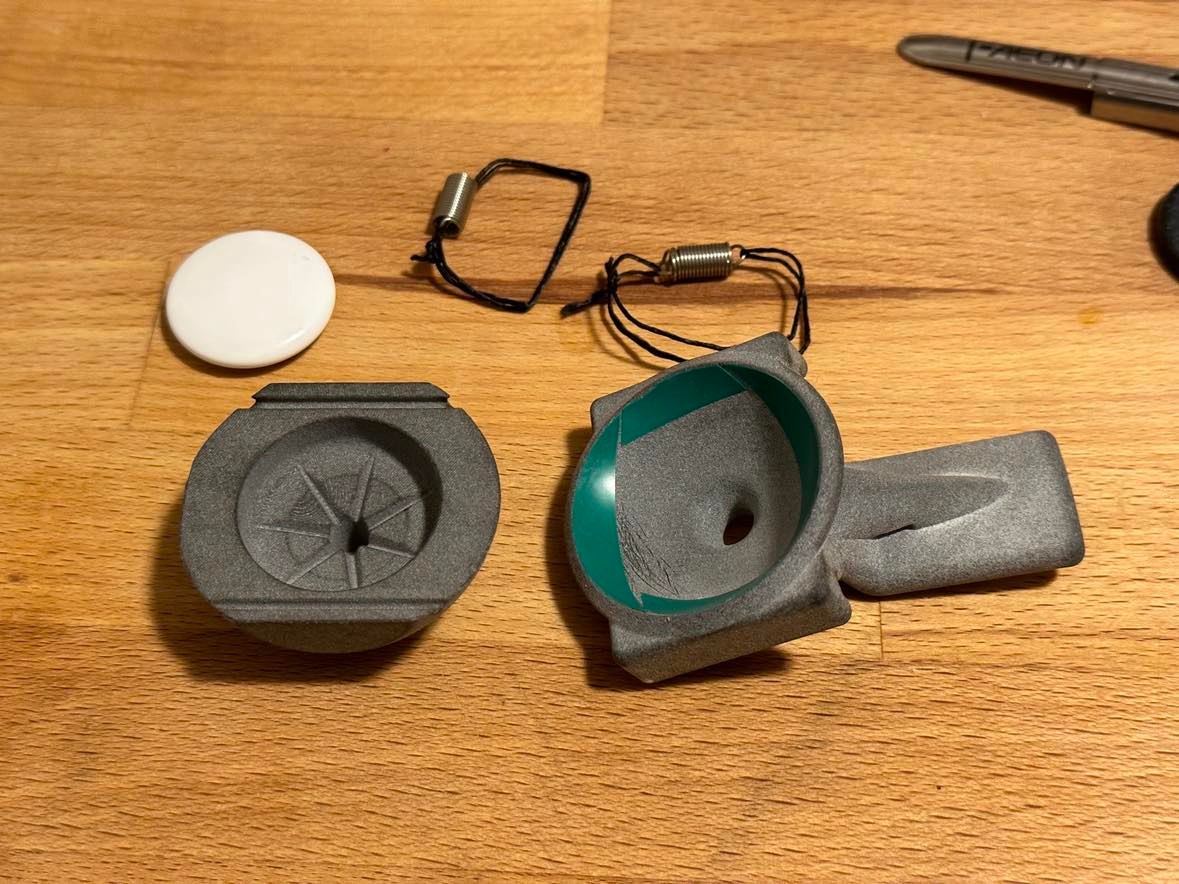
Airtag, two spring and twine assemblies, ball on the left, socket with mounting flange on the right. Note the water drain channels and holes for the airtag to keep it from getting submerged in inclement weather
Parts
Preload
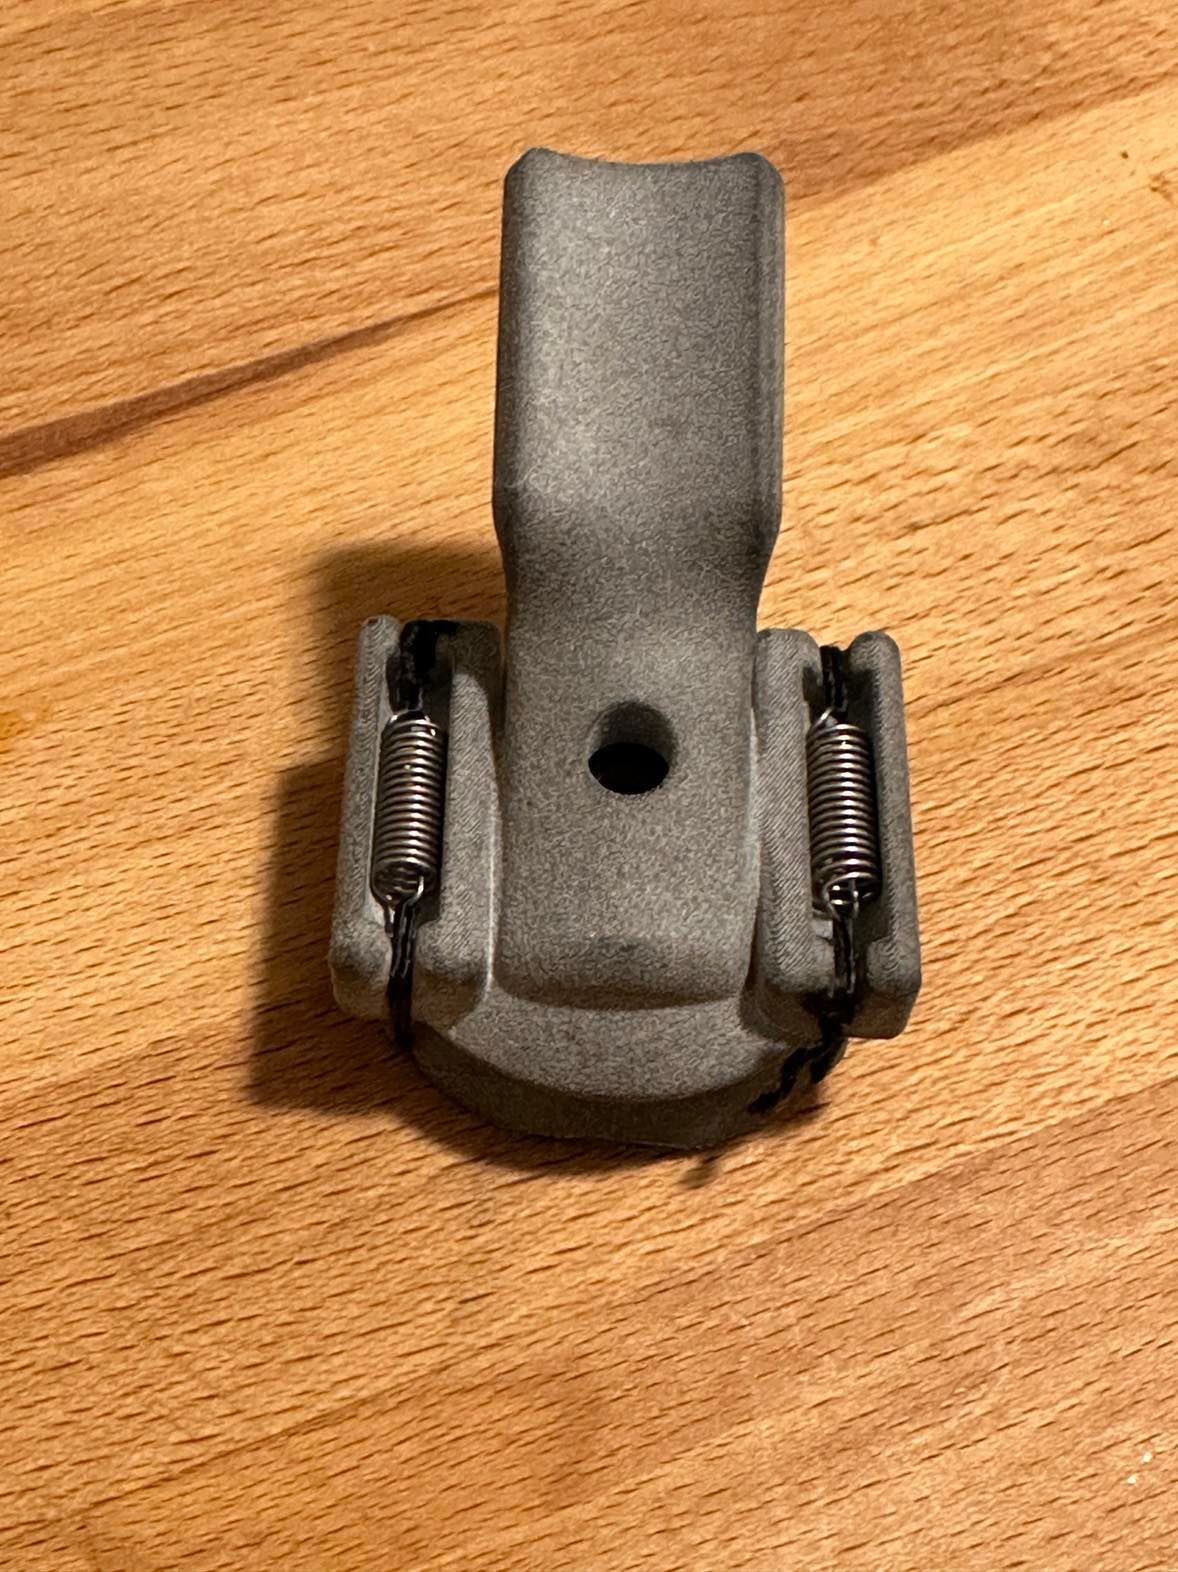
To preload the joint, I used some springs tied to nylon twine. There is a recess to hide the springs on the underside of the base. Rubber bands or garter springs would also be good options, though to keep the profile narrow on the ball side of the joint, something with a small outer diameter is needed.
Springs
Mounting
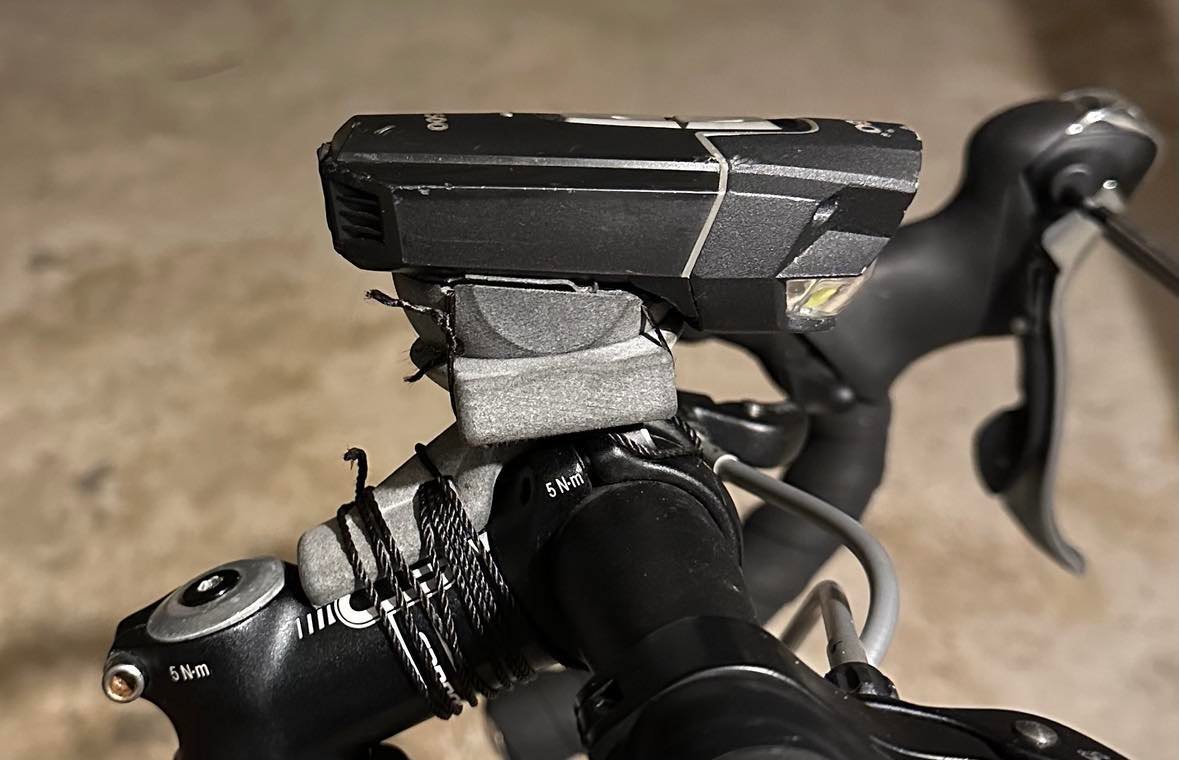
The base was originally designed to attach to my bike handlebar stem with cable ties, but I found I could lash it on tighter with some tarred nylon twine. The light itself was mounted to the ball side of the joint with double sided foam tape, as the original hardware had broken off.
Mounted Light!
Does it Survive?
Yes! After several months of urban Boston biking it is still rock solid and has never budged unless I want it to